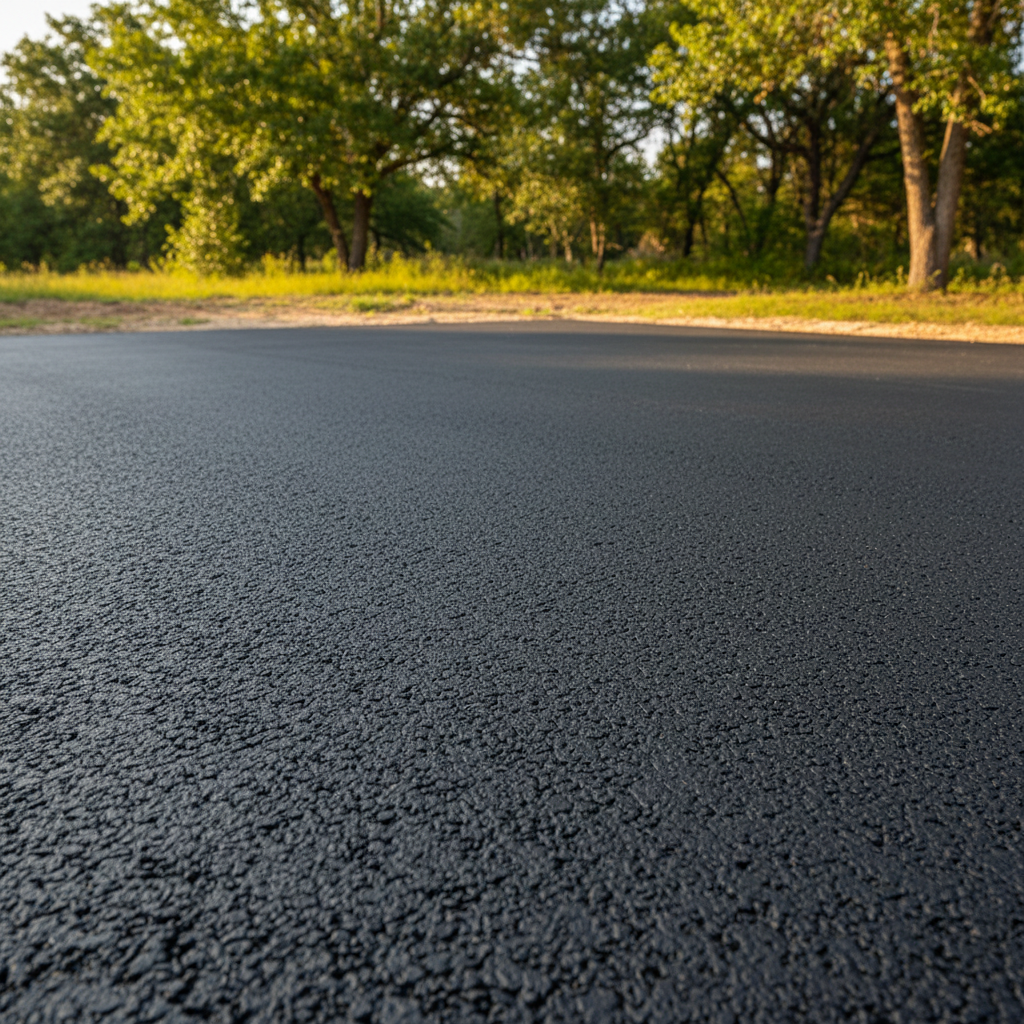
Thinking About a Paved Parking Area at Home?
You're probably tired of tracking mud into the house or dealing with gravel that always seems to migrate. A paved parking area, whether it's for your RV, an extra car, or just a cleaner path to the garage, can really make a difference. But before you grab a shovel, let's talk about what's involved and what you can realistically do yourself versus when you absolutely need to call in the cavalry.
Before You Start Digging: Planning & Prep
This is where you can save some serious money if you're willing to put in the work. Good planning is half the battle, especially here in Temple where our clay soils can be tricky. You've got to think about drainage first and foremost. Water pooling on your new pavement is a recipe for disaster, leading to cracks and premature failure. You'll want to make sure the area slopes away from your house and any other structures. A slight grade, maybe 1/4 inch per foot, is usually enough.
Here's what you can likely handle yourself:
- Measuring and Marking: Figure out the exact dimensions you need. Use stakes and string to mark out the area.
- Clearing the Area: Get rid of any grass, weeds, or debris. You might need a shovel, a pickaxe, or even rent a small tiller for larger areas.
- Basic Excavation: For a simple gravel base, you'll need to dig down 6-8 inches. This can be back-breaking work, but it's doable for smaller pads. If you're looking at something bigger than, say, a 10x20 foot area, you might want to rent a mini-excavator or hire someone for this part.
- Compacting the Subgrade: Once you've dug it out, you need to compact the soil underneath. A hand tamper works for small spots, but a vibratory plate compactor (you can rent these) is much better. Don't skip this; a stable base prevents future sinking.
What's probably best left to a pro at this stage? Anything involving significant earth moving, dealing with complex drainage issues, or if you hit a utility line (always call 811 before you dig!). If your yard has a steep slope or you're planning a very large parking area, a professional can ensure proper grading and foundation.
During the Project: Base & Surface
Once your subgrade is prepped, it's time for the base material. This is crucial for the longevity of your parking area. For most home applications, a good crushed aggregate base (like flex base) about 4-6 inches thick, compacted in layers, is what you need. Again, a plate compactor is your friend here. You can spread this material yourself with shovels and rakes.
Now, for the actual surface. This is where the DIY line gets a lot clearer:
- Gravel: Absolutely a DIY project. Spread it, rake it, compact it. You'll need to refresh it every few years, but it's the cheapest and easiest option to install yourself.
- Pavers: This is a more involved DIY project. You'll need a very level, compacted sand bed over your aggregate base. Laying pavers takes patience, a good eye for detail, and a lot of kneeling. It's doable, but it's a big time commitment.
- Asphalt or Concrete: This is almost always a job for the pros. Laying asphalt requires specialized equipment for heating, spreading, and compacting it correctly. Concrete needs precise mixing, pouring, and finishing techniques that are hard for an amateur to master, especially for a large, flat area like a parking pad. You'll end up with a bumpy, uneven mess if you try to DIY this without experience. Plus, getting the right slope for drainage is critical, and that's harder than it looks. For something like this, you're really better off calling Absolute Asphalt Co. or another reputable local contractor. We've got the equipment and the know-how to get it done right the first time.
After the Pavement is Down: Maintenance
Even after the hard work is done, a little maintenance goes a long way to extend the life of your parking area.
- Gravel: Rake it periodically to redistribute stones, especially after heavy rains. Add fresh gravel as needed.
- Pavers: Sweep sand into the joints regularly to keep them stable. Pull weeds that sprout between them.
- Asphalt: This is where prevention is key. Keep it clean from oil and gas spills, as these break down the binder. Sealcoating every 2-3 years protects the surface from UV rays and water penetration. Fill cracks as soon as they appear to prevent water from getting underneath and causing bigger problems.
- Concrete: Seal it every few years to protect against stains and moisture. Repair cracks with appropriate concrete patching materials.
No matter what surface you choose, good drainage is your best friend. Make sure downspouts aren't dumping water onto your paved area, and keep any nearby gutters clear. A little proactive care now saves you a lot of headache and expense down the road. You want your new parking spot to last, not turn into a pothole playground after a couple of Temple's summer thunderstorms.